Looking for a light, colorful, and flavorful dish that’s ready in minutes? A spicy corn and bell pepper salad is the perfect choice. It’s crunchy, tangy, and slightly spicy just what you need to refresh your taste buds on a busy day. Whether you’re preparing a quick lunch, a picnic side, or a potluck dish, this salad never fails to impress.
Let’s dive into how you can make this delicious salad at home in just seven simple steps.
What Exactly Is the Spicy Corn and Bell Pepper Salad?
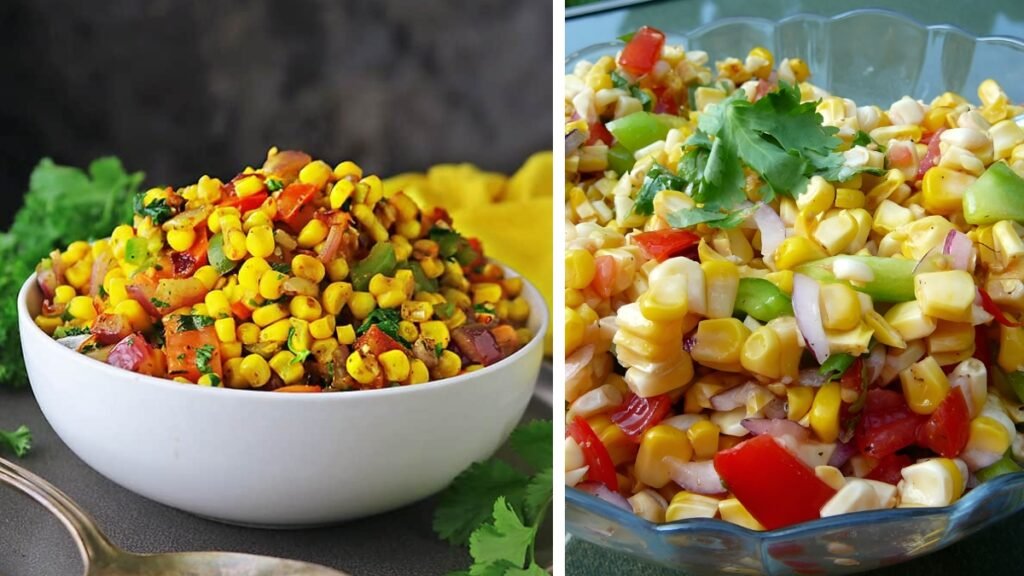
Spicy corn and bell pepper salad is a vibrant mix of sweet corn, colorful bell peppers, onions, herbs, and spices tossed together with a tangy dressing. It’s light yet flavorful, and it perfectly balances sweet, spicy, and zesty notes in one bowl.
The beauty of this recipe is its simplicity no fancy ingredients or cooking skills needed. You can prepare it with fresh or frozen corn and a few pantry staples. It’s also gluten-free and vegetarian, making it a great choice for healthy eating.
Why This Salad Matters for Busy or Health-Conscious People

In today’s fast-paced life, meals that are quick, nutritious, and satisfying are essential. This salad ticks all the boxes. It’s rich in fiber, packed with vitamins (especially Vitamin C and A from bell peppers), and low in calories.
If you’re trying to eat clean without sacrificing flavor, this salad is a winner. You can enjoy it as a side with grilled dishes, pack it for lunch, or even have it as a light dinner.
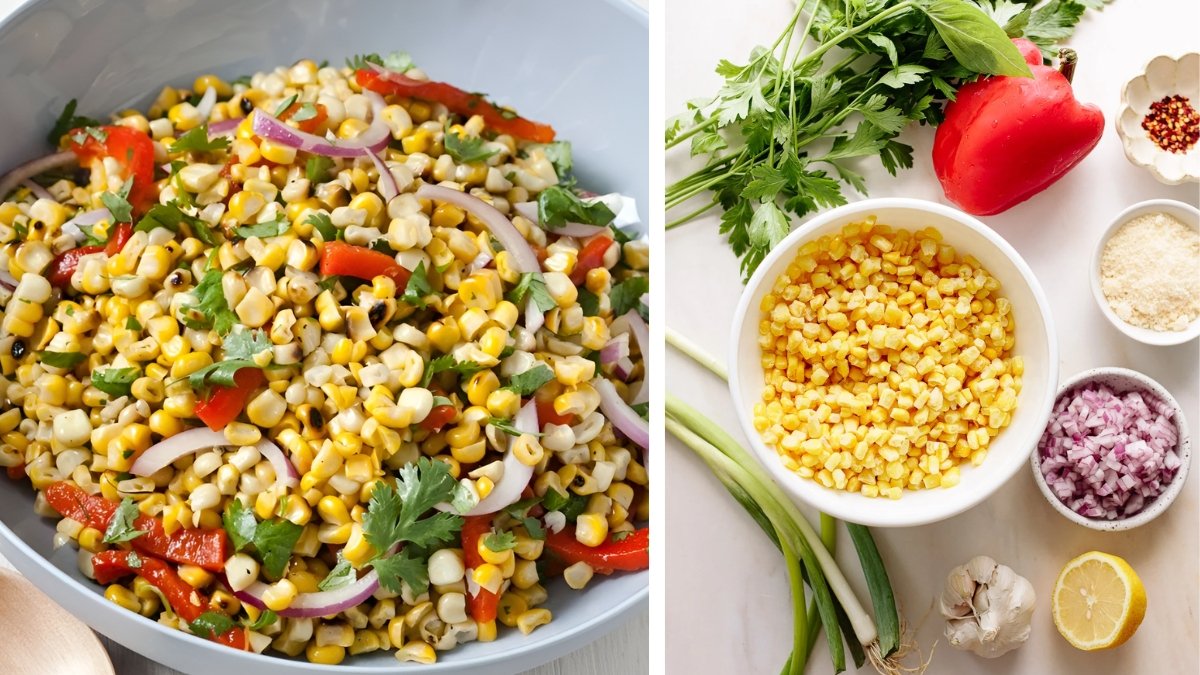
What Ingredients You’ll Need for the Spicy Corn and Bell Pepper Salad
Here’s a quick look at what you need to make this salad:
| Ingredient | Quantity | Purpose |
|---|---|---|
| Boiled sweet corn | 1½ cups | Sweetness and base flavor |
| Red bell pepper | ½ cup (chopped) | Adds crunch and color |
| Yellow bell pepper | ½ cup (chopped) | Balances flavor and texture |
| Green bell pepper | ½ cup (optional) | Adds freshness |
| Onion | ¼ cup (finely chopped) | Adds sharpness |
| Lemon juice | 2 tablespoons | For tanginess |
| Olive oil | 1 tablespoon | For smooth dressing |
| Chili flakes | ½ teaspoon | For heat |
| Black pepper & salt | To taste | For balance |
| Fresh coriander | 1 tablespoon (chopped) | For garnish |
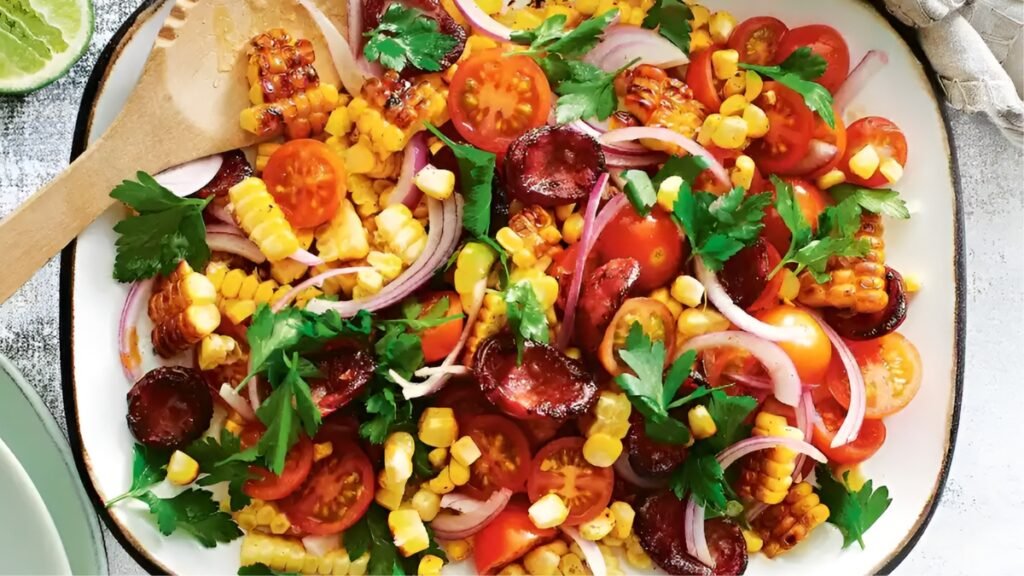
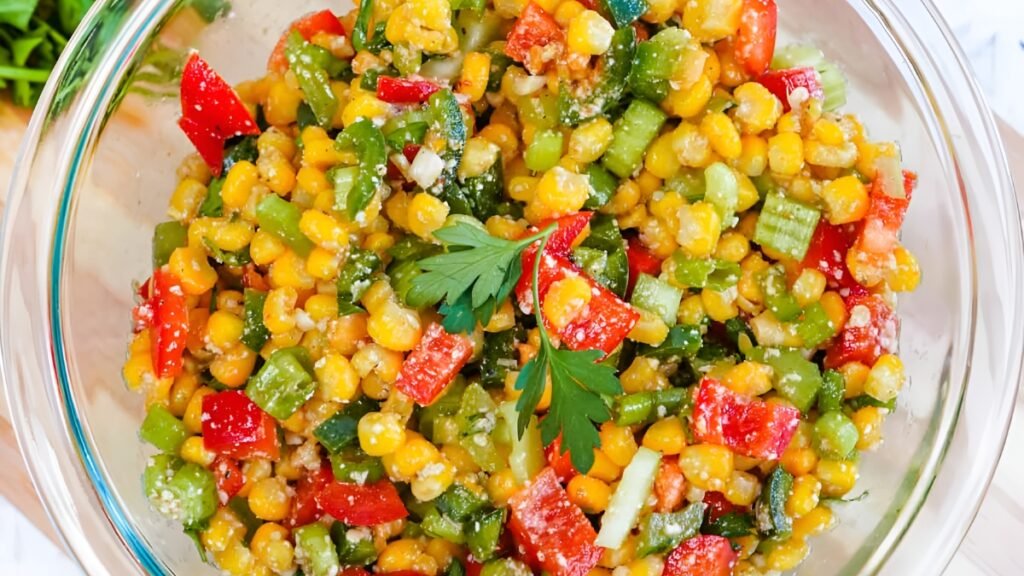
Feel free to customize it with ingredients like cherry tomatoes, cucumber, or even avocado for a creamier twist.
How to Make Spicy Corn and Bell Pepper Salad – Explained Simply
Let’s walk through each step so you can make it perfectly every time. These seven steps are quick and easy, even for beginners.
Step 1: Boil the Corn
Start by boiling the sweet corn for 3–4 minutes until tender. Drain and let it cool slightly. You can also use canned or frozen corn — just make sure to rinse it well.
Step 2: Chop the Veggies
Dice your red, yellow, and green bell peppers into small, even pieces. Finely chop the onions and coriander. Keeping the pieces small ensures a balanced bite in every spoonful.
Step 3: Mix the Base
In a large mixing bowl, add the boiled corn and chopped veggies. Gently toss them together to mix the colors evenly.
Step 4: Prepare the Dressing
In a small bowl, combine olive oil, lemon juice, chili flakes, salt, and black pepper. Whisk it lightly to blend everything into a tangy-spicy dressing.
Step 5: Toss Everything Together
Pour the dressing over your salad mix. Toss well so every kernel and slice gets coated with that flavorful dressing.
Step 6: Let It Rest
Let the salad sit for about 10 minutes before serving. This allows the flavors to soak in and develop beautifully.
Step 7: Serve and Enjoy
Transfer to a serving bowl, sprinkle fresh coriander on top, and enjoy your spicy corn and bell pepper salad. It’s best served slightly chilled or at room temperature.
Common Mistakes With Corn and Bell Pepper Salad and How to Avoid Them
Even simple recipes can go wrong if you rush. Here are a few tips to avoid common mistakes:
- Overcooking the corn: Soft corn loses its crunch. Boil only until tender.
- Skipping the dressing rest time: Allowing it to sit helps the flavors blend.
- Adding too much salt early: Always taste before adjusting seasoning.
- Using watery veggies: Make sure peppers and onions are dry to prevent sogginess.
Best Tips to Make the Most of Spicy Corn and Bell Pepper Salad
- Add a handful of roasted peanuts for extra crunch.
- Mix in a spoon of yogurt or mayo for a creamy version.
- Sprinkle chili powder or paprika if you like it extra spicy.
- Use lime juice instead of lemon for a sharper, tangier flavor.
- For meal prep, store ingredients separately and mix them just before serving.
When to Serve This Salad and Where It Fits Best
This spicy corn and bell pepper salad fits perfectly into almost any meal. It works great as:
- A light lunch on a busy workday
- A side dish with grilled chicken or paneer
- A picnic or BBQ snack that travels well
- A healthy potluck option for friends and family gatherings
You can even use leftovers as a filling for wraps or sandwiches the next day.
Conclusion
Learning how to make spicy corn and bell pepper salad in 7 simple steps is an easy way to add color, flavor, and health to your meals. It’s quick to prepare, full of nutrients, and endlessly customizable. Whether you’re hosting guests or just craving something fresh and zesty, this salad brings the perfect balance of sweet corn, crisp peppers, and tangy dressing.
So next time you need a quick meal that feels special, whip up this salad it’s simple, satisfying, and always a crowd favorite.
FAQ
What’s the best type of corn to use for this salad?
Fresh sweet corn is ideal, but frozen or canned corn also works well if drained properly.
How spicy should this salad be?
That’s up to your taste! Adjust chili flakes or use green chilies for extra heat.
Can I make this salad ahead of time?
Yes, you can prep it a few hours in advance, but add the dressing right before serving for the best texture.
Why should I let the salad rest before serving?
Resting allows the corn and peppers to absorb the dressing, enhancing the flavor.
How long can I store leftover salad?
Keep it in an airtight container in the refrigerator for up to 24 hours. Stir well before serving again.