If you’ve ever enjoyed a hot, crispy stuffed paratha with melting butter on top, you already know how comforting it feels. But making that perfect stuffed vegetable paratha at home soft on the inside and crisp on the outside can feel tricky at first. Don’t worry! With the right method and a little practice, anyone can master it.
Let’s walk through the perfect technique for making stuffed vegetable parathas step by step, and understand what makes them so special.
What Exactly Is a Stuffed Vegetable Paratha and Why It Matters
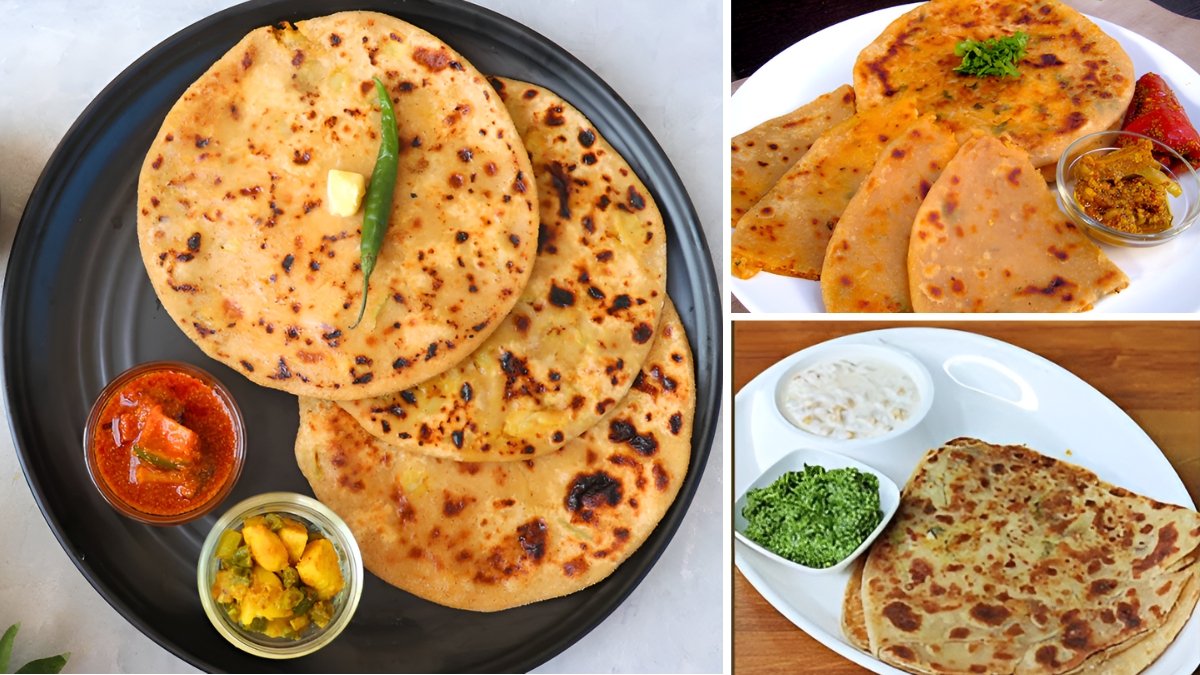
A stuffed vegetable paratha is a traditional Indian flatbread filled with seasoned vegetables, such as potatoes, carrots, cauliflower, peas, or spinach. It’s a hearty and wholesome meal that works for breakfast, lunch, or dinner.
What makes stuffed parathas unique is the balance between a soft, pliable dough and a flavorful filling that stays sealed inside. Getting both right is the secret to that perfect bite crisp, flavorful, and satisfying without being oily or unevenly cooked.
How to Prepare the Dough – Explained Simply
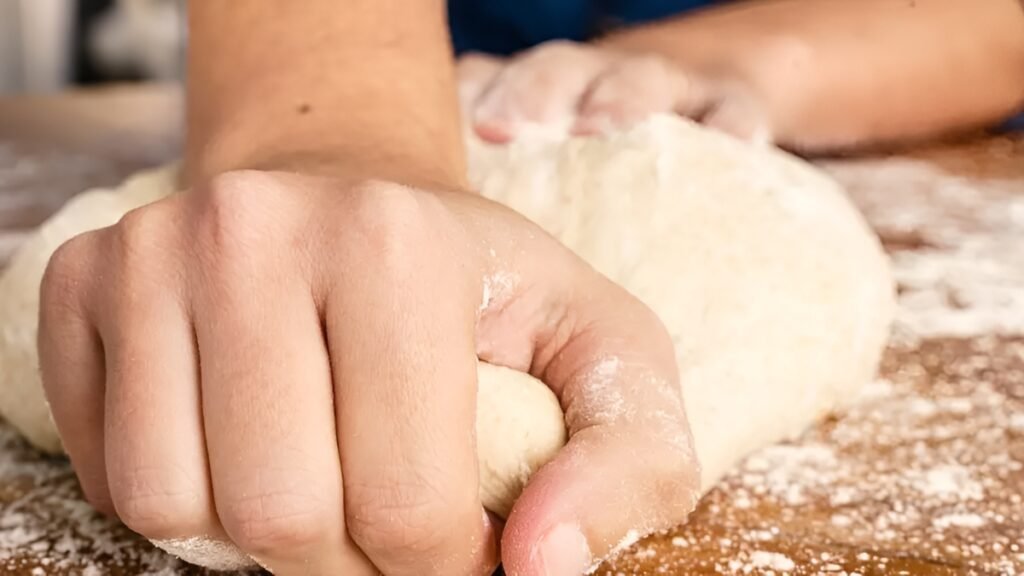
The base of any paratha is the dough, and its texture determines everything. Use whole wheat flour for the best results it’s healthy and gives a nice earthy flavor.
In a large bowl, mix 2 cups of wheat flour, ½ teaspoon of salt, and 1 tablespoon of oil. Gradually add warm water and knead it until smooth and elastic. The dough should be soft but not sticky. Cover it with a damp cloth and let it rest for 15–20 minutes. This resting time helps make the dough easier to roll and prevents cracks when you add the stuffing.
What Goes Inside: Understanding the Perfect Stuffing Mix
This is where the real magic happens! The stuffing gives your paratha its taste and texture.
You can make a simple mix using 1 cup of boiled mashed potatoes, ½ cup of grated carrots, ½ cup of finely chopped spinach, and a few peas or grated cauliflower for crunch.
Add spices like ½ teaspoon cumin powder, ½ teaspoon garam masala, a pinch of turmeric, and salt to taste. Mix everything well so the filling is dry and not watery moisture can make your paratha tear while rolling.
Quick Comparison: Ideal Dough vs. Common Mistakes
| Type | Texture | Result |
|---|---|---|
| Perfect Dough | Soft, smooth, slightly elastic | Easy to roll and seals well |
| Too Hard | Dry and tough | Paratha cracks while rolling |
| Too Sticky | Wet and loose | Filling leaks or burns on the tawa |
How to Roll and Stuff – Best Step-by-Step Method
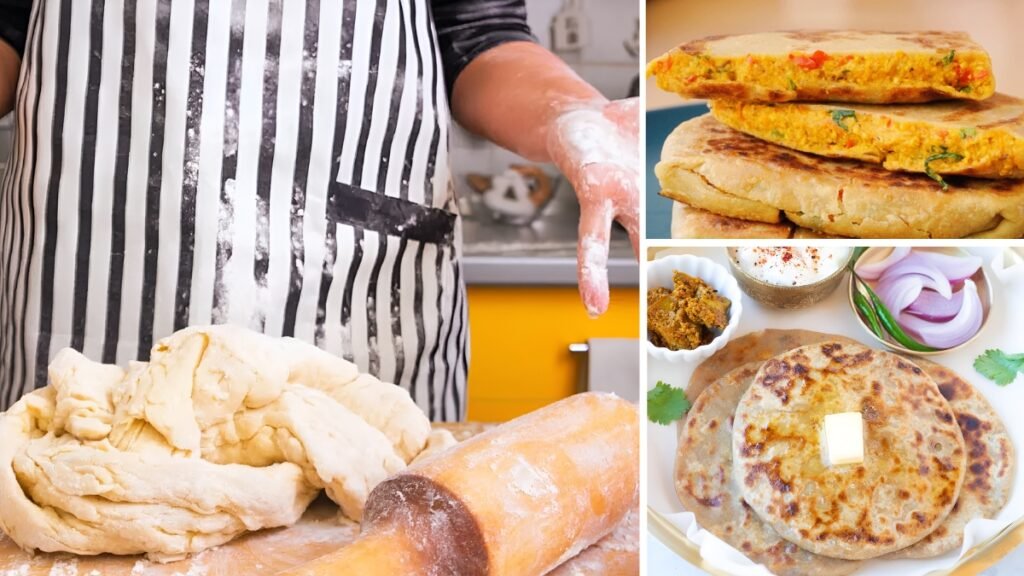
Start by dividing your dough into small balls, about the size of a lemon. Flatten one ball slightly, dust it with flour, and roll it into a small circle. Place a spoonful of your stuffing in the center.
Now bring the edges together like a pouch and seal the top tightly. Gently press down and start rolling again with light pressure. Roll slowly from the center outward, making sure the filling spreads evenly. Aim for a 6–7 inch circle not too thin or thick.
If the stuffing starts to come out, dust a little more flour and roll gently. This part takes practice but gets easier with time!

When and How to Cook for the Perfect Crispness
Heat a tawa (flat pan) on medium flame. Once it’s hot, place your rolled paratha on it. Cook for 30–40 seconds until small bubbles appear, then flip it. Spread ½ teaspoon of oil or ghee on each side and press gently with a spatula.
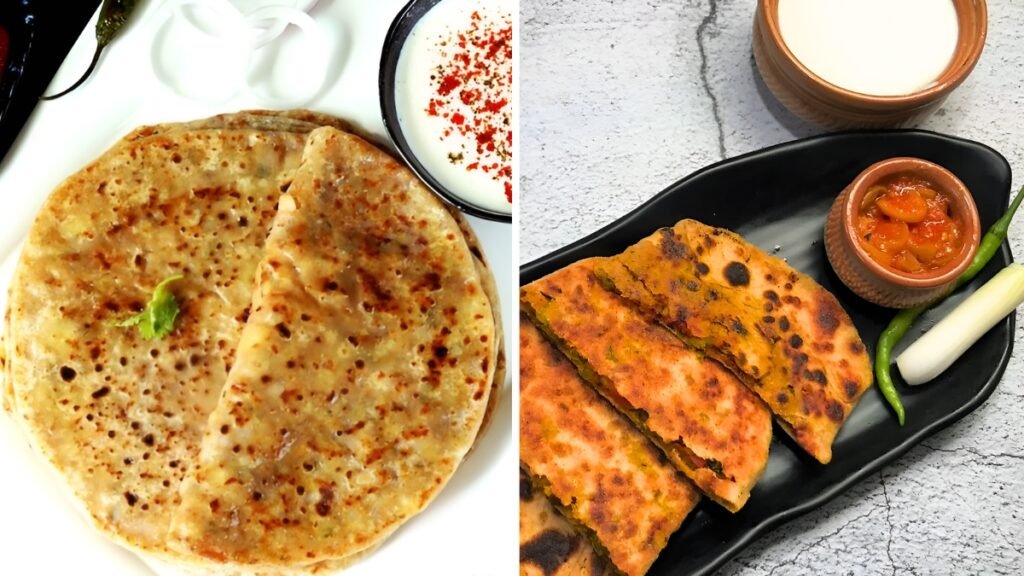
Cook both sides until golden brown spots appear. If you like it crispier, cook a few seconds longer. Serve hot with butter, curd, or pickle.
Tip: Always cook on medium heat. High flame burns the paratha outside while leaving the inside raw.
Common Mistakes and How to Avoid Them
One of the most common mistakes is overfilling the paratha. Too much stuffing can cause it to tear or leak while rolling. Another issue is using wet vegetables they release water and make the dough soggy.
Make sure your stuffing is completely dry before sealing it inside. Also, don’t skip resting the dough, as tight dough is harder to roll and can cause uneven cooking. Finally, remember to maintain even pressure while rolling that’s the secret to getting an even, round paratha.
Best Tips to Make Stuffed Vegetable Parathas Like a Pro
Always keep your tawa hot before placing a new paratha. Sprinkle a few drops of water if it sizzles, it’s ready. Use ghee for a richer, more traditional taste, or oil for a lighter version.
You can also experiment with fillings try paneer and spinach, beetroot and carrot, or even leftover dal mixed with mashed potato for a zero-waste twist.
If you’re meal-prepping, you can par-cook your parathas without oil, store them in the fridge, and roast them later with ghee for a fresh taste.
Conclusion
The perfect stuffed vegetable paratha isn’t about fancy equipment it’s about balance and patience. Soft dough, dry stuffing, gentle rolling, and even cooking are the key ingredients to success. Once you get the hang of it, you’ll be making them like a pro warm, flavorful, and perfectly golden every time.
So next time you crave something wholesome and homemade, try this recipe. Pair it with curd, chutney, or a cup of hot masala chai, and enjoy pure comfort on a plate.
FAQs
1. What is the best flour for making stuffed vegetable parathas?
Whole wheat flour works best because it gives structure, softness, and a nutty flavor that complements the vegetable filling.
2. How can I keep parathas soft for lunchboxes?
Wrap them in foil or a cotton napkin right after cooking to retain steam and prevent drying.
3. Why does my stuffing leak while rolling?
Your filling may be too wet or your dough too thin. Make sure the mixture is dry and roll gently with even pressure.
4. When is the best time to serve stuffed parathas?
They’re great for breakfast or dinner, but also perfect for travel snacks or lunchboxes since they stay soft for hours.
5. Can I make parathas ahead of time?
Yes. You can half-cook them and refrigerate for up to two days. Reheat with a bit of ghee before serving for the same fresh taste.